

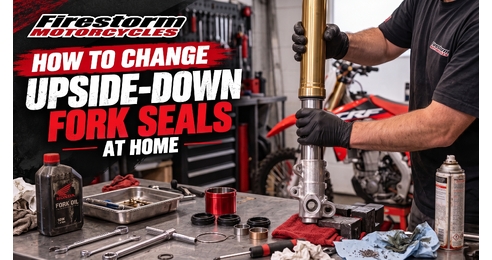

Got a leaking fork seal on your dirt bike? Replacing the oil seals in a set of upside-down (USD) motorcycle forks is a job many experienced home mechanics can tackle with the right tools, a clean workbench and a bit of patience.
Whether your bike runs WP, Showa or KYB suspension, the basic principles are similar: remove the fork, inspect the tubes and bushings, replace the seals, and refill and reassemble everything correctly.
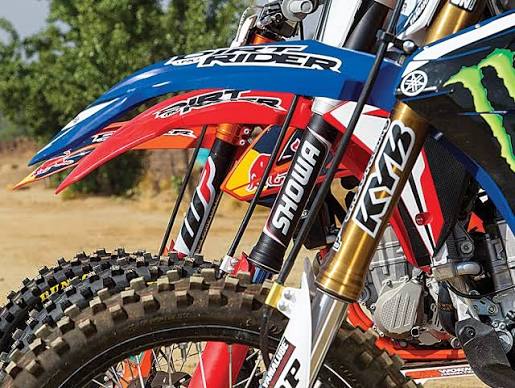
This guide covers the general fork-seal replacement process for spring-equipped upside-down forks. Designs vary between makes, models and years, so use your bike's workshop manual for the exact procedure, oil quantities and torque settings.
Need seals before you start? Browse Firestorm's motorcycle fork seal kits and check the correct application for your bike's make, model and year.
Before you begin: Identify your exact fork design. Internal fork assemblies can contain loaded springs or pressurised components. Always follow the relevant workshop manual and use the specified tools.
Watch: How to Change Dirt Bike Fork Seals
Before getting into the job, this step-by-step video from Dirt Rider shows a leaking fork seal being replaced in the workshop. It's a useful visual reference for the tools, disassembly and seal installation covered below.
Video: Dirt Rider. Follow the correct service procedure for your particular forks.
1. Record Your Fork Clicker Settings
Before pulling the forks apart, record your existing compression and rebound settings. That way you can return to your preferred suspension setup after the rebuild.
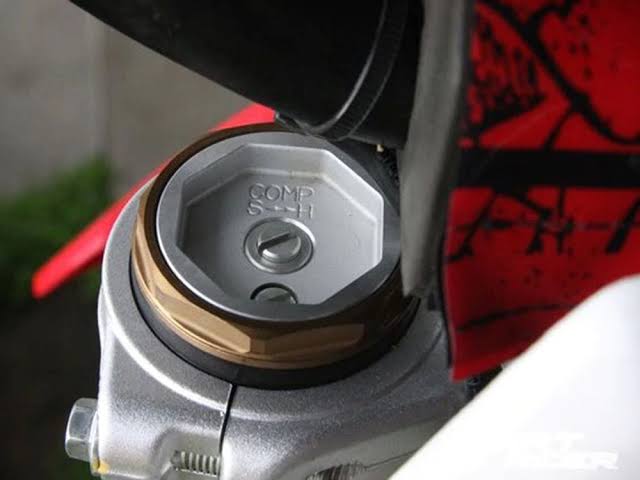
- Count your clicks: Gently turn each adjustable clicker clockwise until it reaches its seated position, counting the clicks along the way. Never force the adjuster.
- Write them down: Record the compression and rebound counts separately for each fork leg.
- Follow your fork manual: Return or reset adjusters as required by your particular fork's service procedure before disassembly.
2. Remove the Fork and Drain the Old Oil
With the bike safely supported and the front wheel unloaded, remove the fork legs following the motorcycle's service manual. Clean the outside of each leg thoroughly before opening it.
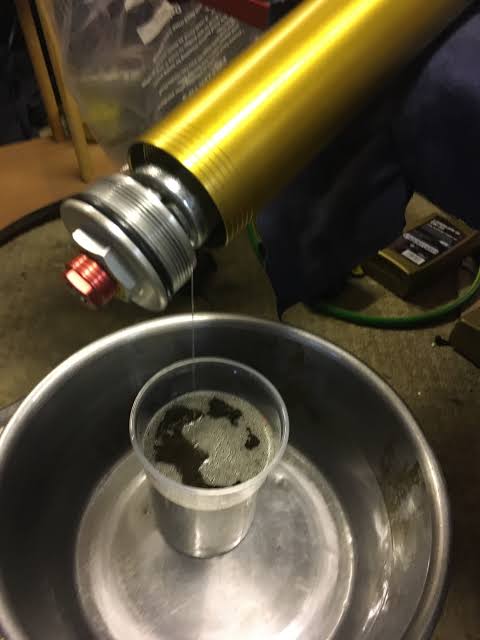
- Loosen the top cap: Use the correct fork cap wrench. Where specified, loosen the cap while the fork is still supported in the triple clamps, with the appropriate clamp bolts released.
- Remove and support the fork: Work on a clean bench using a suitable fork holder or soft jaws. Never crush the outer tube in a vise.
- Drain the oil: Open and drain the relevant fork chamber according to the service manual. Collect the old oil in a suitable container.
Workshop tip: A stubborn top cap needs the correct supporting tool and controlled leverage, not excessive clamping force. Damaging the outer tube can create a much bigger repair than a leaking seal.
3. Remove the Cartridge and Spring
Depending on the design, you may need to remove the damper assembly, fork spring or internal holding components before the tubes can be separated.
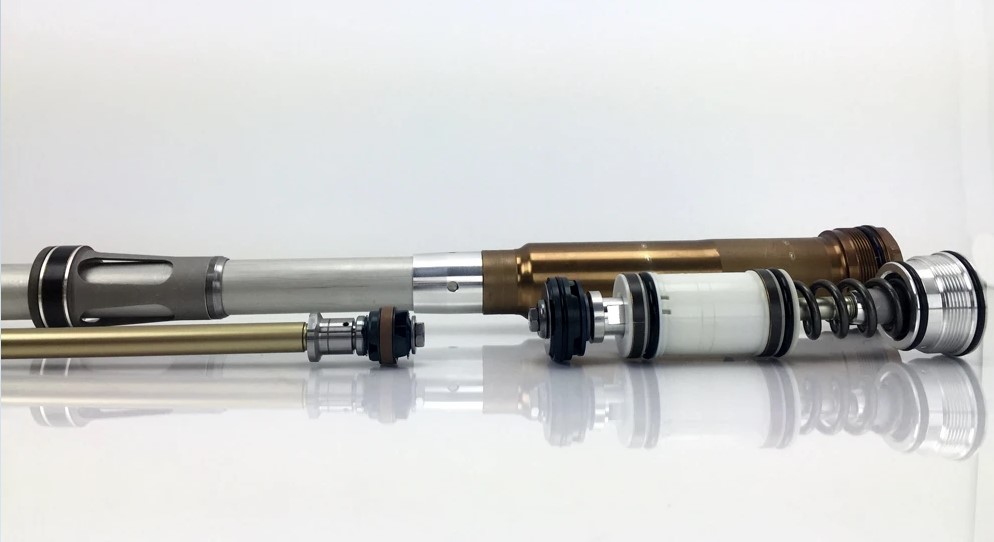
- Identify the cartridge: Check whether your fork uses an open-cartridge, closed-cartridge or separate air-spring arrangement.
- Access the retaining hardware: On designs that require it, use the specified spring compressor or damper rod holding tool to expose the relevant locknut or base bolt.
- Separate the components: Hold the correct assembly while removing fasteners according to the manufacturer's procedure. Keep small parts in order.
- Remove the spring or cartridge: Where required, withdraw the assembly carefully and drain the applicable chamber.
The axle-compression and lower-bolt technique sometimes demonstrated for KYB-style forks is not appropriate for every suspension design.
4. Separate the Inner and Outer Fork Tubes
Once the internal components have been dealt with correctly, it's time to remove the old oil seal and separate the fork tubes.
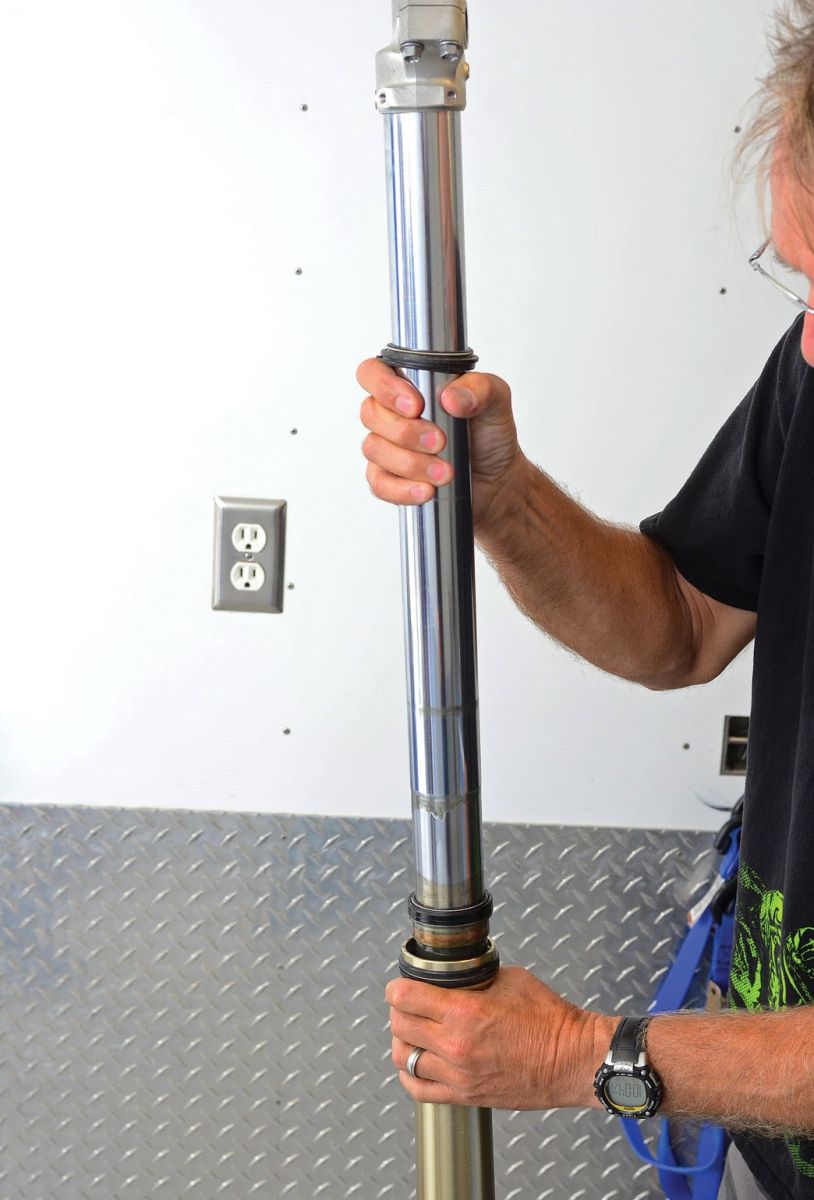
- Remove the dust seal: Carefully work the dust seal free without scratching the fork tube or damaging its recess.
- Remove the retaining clip: Expose the main oil seal and remove its retaining ring from the groove.
- Check the seal arrangement: Confirm the intended separation method for your fork model.
- Separate the tubes: On forks designed for this method, use controlled slide-hammer movements to draw the bushings and old oil seal out of the outer tube.
Some forks may require gentle, controlled heat at the seal housing to assist removal. Follow the relevant service guidance rather than applying heat routinely.
5. Inspect the Stanchion and Fork Bushings
Before installing fresh seals, inspect the fork tubes for the damage that may have caused the original seal to leak.
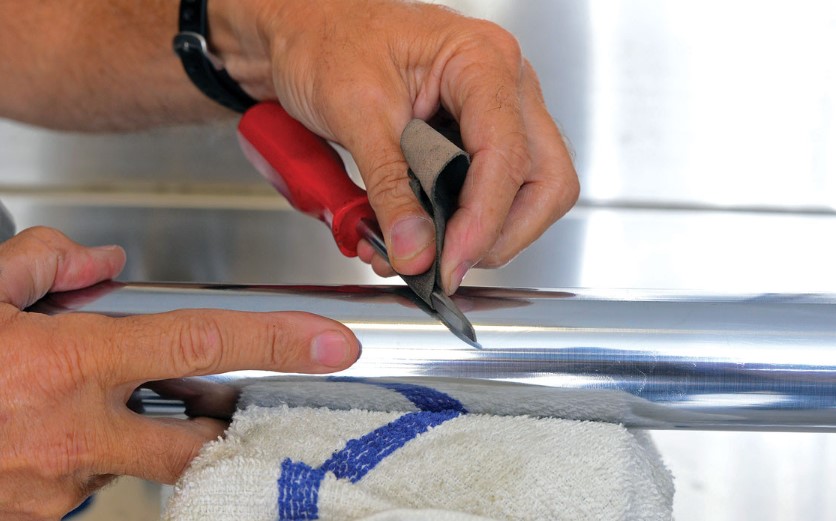
Pay particular attention to stone chips, scratches, damaged chrome or coatings and raised burrs. Even a small sharp edge can damage a new seal during installation.
- Inspect the sliding surface: Minor raised burrs may sometimes be carefully dressed using the manufacturer's approved method. Deep scratches, pitting or coating damage require proper assessment.
- Check the bushings: Look for excessive wear, damaged bearing material, scoring or unusual looseness.
- Clean everything: Remove dirt, old oil and debris using fork-compatible cleaning products and lint-free materials.
If the bushings are worn, now is the ideal time to replace them. Explore Firestorm's fork bushing kits and confirm fitment for your specific motorcycle.
6. Install the New Fork Seal Assembly
With the tubes cleaned and inspected, you're ready to fit the replacement seal. This is where the correct tools and attention to detail really pay off.
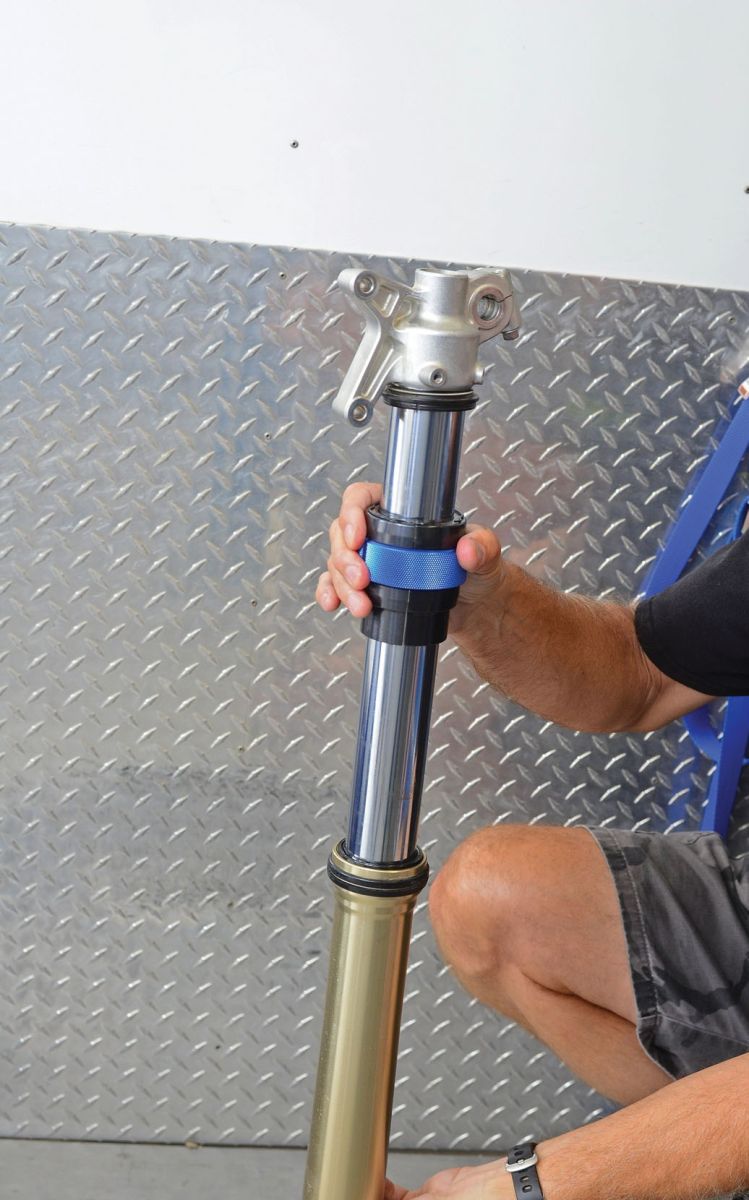
- Protect the sealing lip: Fit a seal installation protector over sharp tube edges and grooves.
- Lubricate the new seal: Use the lubricant recommended by the seal or fork manufacturer. Check the seal's orientation.
- Install each component: Follow the correct order for your model, including the dust seal, retaining clip, oil seal, backing washer and bushings.
- Drive the oil seal: Use the correct diameter split fork seal driver to seat it evenly in the outer tube.
- Secure the assembly: Check that the retaining clip is completely seated before pressing the dust seal into position.
Find replacement fork oil seals and seal kits at Firestorm. Select parts to match your exact bike and fork model.
7. Reassemble the Fork and Refill the Oil
With the new seals installed, reassemble the spring and damper components in the sequence specified for your fork design.
- Reinstall the internal assembly: Refit the relevant spring, damper rod and cartridge components, using the specified holding tools.
- Tighten to specification: Use the manufacturer's torque settings for internal locknuts, base bolts and fork caps.
- Refill with the correct oil: Use the specified motorcycle fork oil and follow the prescribed filling and bleeding procedure.
- Set the correct oil level: Depending on fork design, this may involve a measured oil height, a specified volume, or separate quantities for different chambers.
- Complete reassembly: Refit the fork caps, restore your recorded clicker settings and reinstall both fork legs in the motorcycle.
Oil level matters: On applicable spring forks, oil height affects the air-spring effect and resistance near the end of the stroke. Keep the oil quantity and level within the manufacturer's recommended specifications.
8. Final Checks Before You Ride
Before heading back out on the track or trail, take a few minutes to check the completed job.
- Inspect around both dust seals for fresh oil leaks.
- Compress the suspension carefully and confirm smooth, unrestricted travel.
- Check fork height and alignment in the triple clamps.
- Torque the triple-clamp bolts, axle, axle pinch bolts and brake hardware in the correct sequence.
- Confirm normal brake operation and that no oil has contaminated the brake disc or pads.
- Recheck for leaks after an initial cautious test and suspension movement.
If the fork binds, leaks, makes unusual noises or doesn't operate normally, stop and investigate before riding.
Find Fork Seals, Oil and Suspension Parts at Firestorm
Whether you're refreshing a set of Showa forks on a Honda CR250R or servicing another dirt bike, start with the correct parts for your particular make, model and year.
Find replacement seals, bushings, fork oil and other suspension components from Firestorm.
Use Firestorm's bike parts finder to select your correct year before ordering. Fork specifications and seal fitment can vary between models.
A careful fork seal replacement can save an unnecessary workshop visit and help keep your dirt bike's suspension performing as it should. Take your time, use the correct tools and don't skip the checks before your next ride.