


Your motorcycle chain takes a beating every time you ride. From muddy motocross tracks and dusty trails to long highway trips, it transfers engine power to the rear wheel and needs regular attention.
Knowing how to inspect, adjust and replace your chain can help prevent excessive drivetrain wear and unexpected failures. It can also save you money by helping you recognise when a simple adjustment is enough and when it's time for a new chain.
Here's what to check, how to adjust chain tension correctly and how to choose between heavy-duty, O-ring and X-ring motorcycle chains.
Published: 15 March 2020 Updated: 21 October 2026
1. How to Tell if Your Motorcycle Chain Is Worn
Begin with the engine switched off and the bike securely supported according to the owner's manual. If the rear wheel can be rotated safely by hand, inspect the complete chain rather than just the section that's easiest to see.
Does a Motorcycle Chain Actually Stretch?
People commonly say a motorcycle chain has "stretched", but most of its increase in length comes from wear at the pins and bushes rather than the metal plates simply stretching.
As that wear accumulates, the chain's effective pitch increases and it no longer engages with the sprocket teeth as intended.
Your motorcycle's service manual may specify a maximum measurement over a particular number of chain links. Use that procedure rather than guessing based on how much adjustment remains at the rear axle.
A chain that has reached its service limit needs replacing. Simply tightening it won't reverse the wear.
Warning signs: A chain with cracked plates, damaged joining hardware, badly seized links or severe corrosion should be inspected and replaced as necessary before further riding.
2. How to Check and Adjust Motorcycle Chain Tension
Correct chain slack is important. If the chain is too loose, it may slap against surrounding components or potentially derail. If it's too tight, it can place excessive loads on the countershaft, bearings and suspension as the swingarm moves.
The correct tension depends on the motorcycle and its suspension geometry. There is no single measurement suitable for all road bikes, motocross bikes and enduro motorcycles.
Checking Chain Slack
- Find the correct specification: Check your owner's manual for the required chain slack, measurement point and motorcycle loading or support conditions.
- Locate the specified measuring point: This is commonly partway along the lower chain run, but the exact point varies.
- Measure chain movement: Follow the manufacturer's procedure for measuring vertical movement or distance from a reference point.
- Check for tight spots: With the engine off, rotate the rear wheel by hand where safe and repeat the measurement at different chain positions.
- Compare with specification: Adjust if necessary, measuring at the tightest section where required by the manufacturer.
Adjusting the Chain
Many motorcycles use rear axle adjuster bolts, cams or eccentric adjusters. Always follow your motorcycle's procedure, including the axle-nut torque and adjuster-locknut settings.
For a common axle-adjuster arrangement, the process generally involves loosening the axle nut as instructed, adjusting both sides evenly, checking wheel alignment, setting the specified slack and retightening everything correctly.
After tightening the axle, measure the chain slack again. The setting can change slightly when the hardware is secured.
Dirt bike tip: Don't make your chain excessively tight just because it looks loose on the stand. Chain tension changes as the rear suspension compresses. Dirt bike manufacturers often specify a particular measuring position to account for this.
3. Heavy-Duty, O-Ring or X-Ring: Which Chain Is Best?
Not all motorcycle chains are built for the same use. The chain's design, strength rating, sealing system, size and intended application all matter.
The three photographs below show examples from Firestorm's chain range, including EK heavy-duty and gold-finish chains and an RHK sealed X-ring chain.
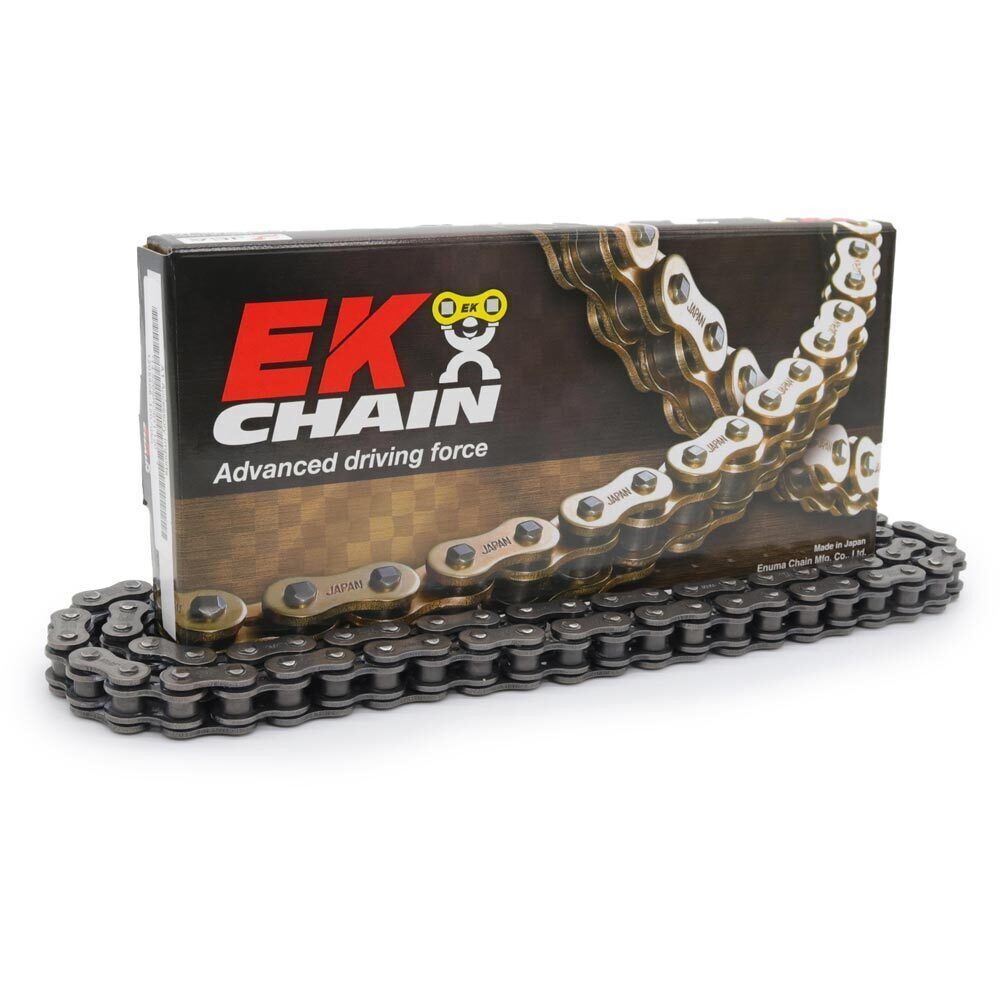


Images show examples of Firestorm-stocked EK and RHK chains. Exact construction, sealing design, strength rating and compatibility depend on the individual chain model.
Standard vs O-Ring vs X-Ring Chains
A traditional non-sealed chain does not use rubber seals to retain lubricant around its pins and bushes. These chains can be suitable for particular motocross and other applications, depending on the manufacturer's specifications.
An O-ring chain uses seals between the inner and outer plates to help keep factory-applied lubricant inside and dirt out.
An X-ring chain uses a differently shaped seal for a similar purpose. Depending on its design, it may offer lower seal friction or improved sealing compared with certain O-ring designs.
A sealed chain is not automatically better for every motorcycle. Check the chain manufacturer's strength and application ratings, available clearance, and your motorcycle's specifications.
Which should you choose? For regular road, adventure and trail riding, a suitable sealed chain can be a practical long-life option. For motocross or racing, consider the motorcycle manufacturer's requirements and the performance characteristics of the particular chain rather than choosing solely by colour or seal type.
4. Should You Replace the Chain and Sprockets Together?
Usually, yes, when the drivetrain is worn.
Your chain, front sprocket and rear sprocket wear together. Installing a new chain on badly worn sprockets can accelerate chain wear, while fitting new sprockets with a severely worn chain can reduce the life of the sprockets.
If the drivetrain is approaching its wear limits, replacing all three components together is generally a sensible option.
However, individual component replacement can sometimes be appropriate when the other parts remain within specification. Inspect everything and follow the manufacturer's recommendations.
Firestorm offers complete chain and sprocket kits with matching components for a wide range of motorcycles.
For more information about recognising hooked sprocket teeth, choosing steel or alloy sprockets and replacement procedures, read our companion guide: How to Inspect and Replace Motorcycle Sprockets.
5. Watch: Motorcycle Chain Fitting and Adjustment
The original Firestorm video is retained below as a visual companion to the chain fitting and adjustment information.
6. How to Replace a Motorcycle Chain
The general process is straightforward, but successful installation depends on choosing the correct chain and using the approved joining method.
Some chains use clip-type connecting links, while others use rivet-style master links or different manufacturer-specific connections. These methods are not interchangeable.
- Confirm the correct chain: Check the required pitch, number of links, strength rating and suitability for your motorcycle.
- Support the motorcycle safely: Follow the owner's manual and ensure the engine is switched off.
- Remove the old chain: Use the appropriate chain-breaking method. Some endless chains or motorcycles may require additional disassembly.
- Inspect the sprockets: Check both sprockets for hooked, pointed, damaged or worn teeth, and replace them if required.
- Prepare the replacement: Confirm the chain length and any adjustment required before fitting. Do not remove links until the correct length has been established.
- Install the chain: Route it correctly and fit the approved connecting link. Use the correct tool, seals, lubricant and plate-pressing or riveting dimensions specified by the chain manufacturer.
- Set the chain slack: Adjust tension and wheel alignment using your motorcycle's specified procedure.
- Carry out final checks: Inspect the master link, chain clearance, sprocket engagement and hardware. Recheck the chain after initial use as recommended.
Clip Links vs Rivet Links
Some chains use clip-type connecting links, while others require riveting. Use only the joining method specifically approved for your chain and motorcycle.
For an approved clip-type link, the closed end of the retaining clip is normally installed facing the direction of chain travel on the upper run. Always confirm the chain maker's instructions.
Rivet-style links require the correct chain riveting tool and precise installation. Over-pressing the side plate or incorrectly forming the rivet heads can damage the connection.
Safety first: A poorly installed master link can cause chain failure. Never improvise a joining method or reuse components contrary to the manufacturer's instructions. If you're not confident with the installation, have a qualified motorcycle mechanic complete the job.
7. How to Clean and Lubricate Your Motorcycle Chain
Regular chain maintenance helps reduce corrosion, contamination and external wear. It's especially useful after riding through mud, rain, sand or dusty conditions.
- Switch the engine off: Never run the engine to rotate the chain while cleaning or lubricating it.
- Remove loose dirt: Use a suitable soft brush and a chain cleaner approved for your chain type.
- Clean carefully: Avoid aggressive solvents, pressure-washing directly into chain seals or using tools that could damage the sealing rings.
- Allow the chain to dry: Follow the cleaner manufacturer's instructions.
- Apply suitable lubricant: Use a motorcycle chain lubricant appropriate for the chain type and riding conditions.
- Inspect and adjust: Check slack, alignment, tight spots and sprocket wear before your next ride.
Even O-ring and X-ring chains benefit from external maintenance. Although their seals help retain lubricant internally, the rollers, seals, plates and exposed metal still require appropriate care.
Find motorcycle chain cleaners and lubricants at Firestorm.
8. Choosing the Right Replacement Chain
Before ordering a new motorcycle chain, check these three specifications.
A chain with the correct pitch is not automatically suitable for every motorcycle using that pitch. Tensile strength, fatigue resistance, dimensions and manufacturer-approved applications also matter.
Use Firestorm's motorcycle parts finder to check the products listed for your exact make, model and year.
For example, see the 2005 Honda CR250R parts finder, then select your own motorcycle to explore the relevant chain and drivetrain components.
9. Shop Motorcycle Chains and Maintenance Parts at Firestorm
Whether you're replacing a worn chain, upgrading your drivetrain or preparing for a riding weekend, Firestorm stocks chains, sprockets and maintenance products for a broad range of road and off-road motorcycles.
Explore our drivetrain categories, then confirm the correct fitment and specifications for your motorcycle.
Final tip: Don't wait until your motorcycle chain is badly worn, binding or running out of adjustment. Regular inspection, correct tension and appropriate lubrication can help extend drivetrain life and prevent an avoidable breakdown on your next ride.