



Your motorcycle's chain and sprockets work hard every time you accelerate. Whether you're riding motocross, enduro, adventure or road, keeping them in good condition helps deliver smooth power and reduces the risk of a drivetrain failure.
The good news is that worn sprockets are usually easy to spot once you know what to look for. Here's how to inspect them, decide when replacement is needed and avoid wearing out your new parts prematurely.
1. How to Tell if Your Motorcycle Sprockets Are Worn
Start with the rear sprocket, where the teeth are usually easiest to inspect. Clean away heavy dirt and chain lubricant so you can see their shape clearly.
Don't forget the front sprocket. Its smaller diameter means each tooth engages the chain more frequently, and it can sometimes wear faster than the rear. You may need to remove the sprocket cover to inspect it properly.

Rider tip: If you find damaged or badly hooked teeth, don't continue riding until the drivetrain has been checked. A worn chain and sprocket combination can skip under load and potentially cause further damage.
2. Check Your Motorcycle Chain at the Same Time
A sprocket inspection is only half the job. The chain and sprockets wear together, so always check the condition of all three components.
With the engine switched off, inspect the chain along its full length. Look for:
- Stiff or seized links: Links that don't articulate freely can cause tight spots and uneven wear.
- Rust, cracks or damaged rollers: Heavy corrosion, damaged rollers or visibly damaged link plates require attention.
- Uneven chain slack: A chain that alternates between tight and loose sections as the rear wheel is rotated may be worn or damaged.
- Excessive chain wear: Check chain elongation using the measurement procedure and service limit in your motorcycle's manual.
- Damaged seals: On O-ring and X-ring chains, inspect for missing or damaged sealing rings.
Also check the chain guide, swingarm slider and rear wheel alignment. These components affect how smoothly the drivetrain operates and can reveal additional maintenance issues.
3. Should You Replace the Chain and Sprockets Together?
Generally, yes — particularly when the drivetrain is worn.
Fitting a new chain onto badly worn sprockets, or fitting new sprockets with an excessively worn chain, can accelerate wear on the replacement parts.
For a heavily worn drivetrain, replacing the chain, front sprocket and rear sprocket together is usually the best approach.
However, if one component is damaged prematurely while the others remain within specification, individual replacement may be appropriate after a careful inspection. Always follow the motorcycle and component manufacturers' recommendations.
Firestorm offers complete motorcycle chain and sprocket kits, which are a convenient way to replace a worn drivetrain with matching components.
4. Steel vs Alloy vs Stealth Rear Sprockets
When replacing your sprockets, it's worth considering the different materials available. Steel, aluminium alloy and dual-material designs each offer different advantages depending on your riding style and priorities.


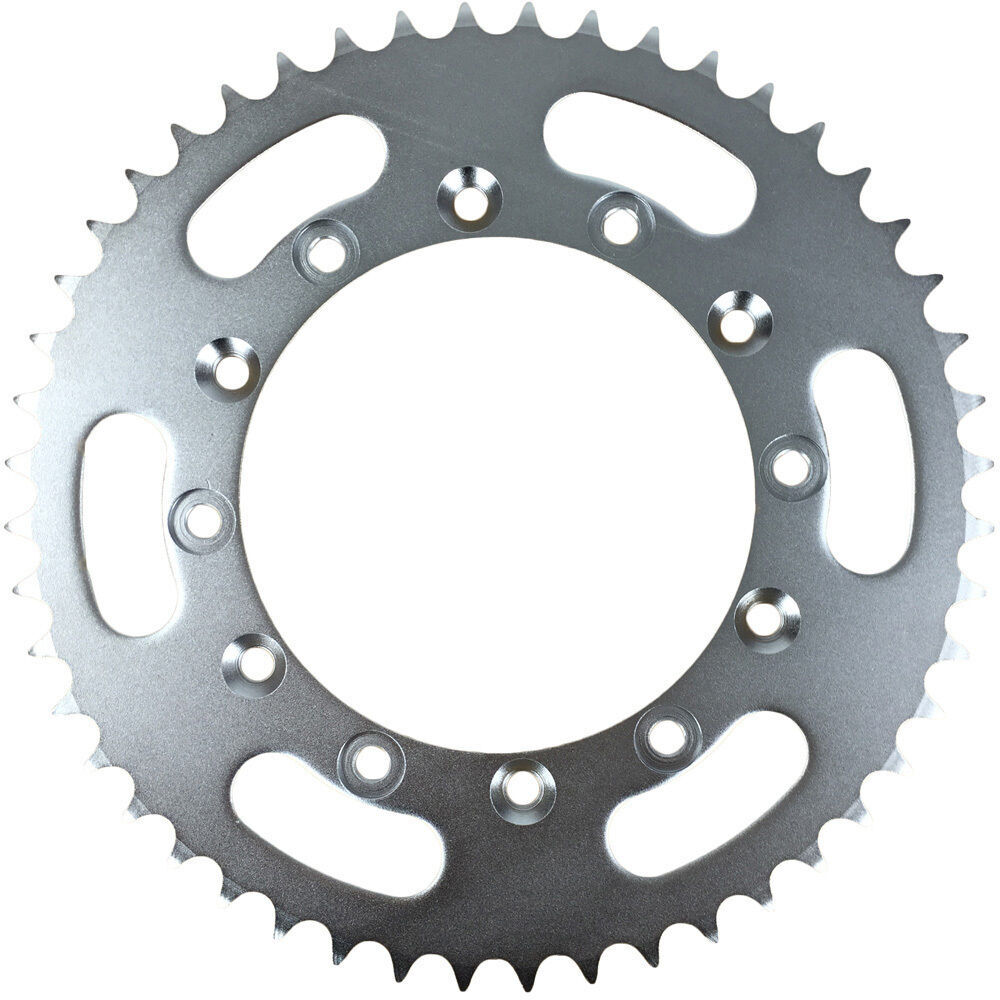
Product images are examples from Firestorm's range. Sprocket designs, colours, materials and motorcycle fitment vary by model. Always check specifications before ordering.
Which should you choose? Alloy is popular when low weight matters, steel generally suits riders prioritising durability and value, while Stealth-style dual-material sprockets offer a compromise between the two. The best option depends on your motorcycle, terrain, riding style and budget.
5. Watch: Inspecting and Replacing Motorcycle Sprockets
The video from the original Firestorm article provides a visual companion to the inspection and replacement advice above.
6. How to Replace Motorcycle Sprockets
The exact removal and installation procedure depends on your motorcycle. Some front sprockets use a retaining plate, while others use a nut and locking washer. Rear sprocket hardware and torque settings also vary.
For a general chain-driven motorcycle, the job normally involves:
- Prepare the bike: Park on stable ground and support the motorcycle securely. Consult the service manual before loosening fasteners.
- Access the sprockets: Remove necessary covers and follow the correct procedure for removing the old chain or providing enough clearance.
- Remove the worn parts: Remove the front and rear sprockets using the manufacturer's specified method. Inspect the countershaft splines, rear sprocket mounting points and hardware.
- Fit the replacements: Confirm the sprockets are the correct fitment and tooth count. Install them in the correct orientation using specified fasteners, locking devices and torque settings.
- Install the chain: Use the correct chain pitch, length and joining method. Rivet-type master links require an appropriate tool and correct riveting procedure.
- Set chain slack: Follow the motorcycle manufacturer's measurement procedure and adjustment specification. Check rear wheel alignment.
- Final inspection: Verify all retaining hardware is secure, the chain moves freely and there are no tight spots or interference. Recheck after the initial ride as instructed by the component manufacturer.
Important: Never operate the engine to move or clean the chain while working near the drivetrain. Keep fingers, tools and clothing clear of the chain and sprockets. If you're unsure about the master link, sprocket retention or torque procedure, have a qualified motorcycle mechanic complete the job.
7. Chain Tension, Sprocket Size and Maintenance
Getting Chain Slack Right
Incorrect chain tension can shorten drivetrain life. A chain that's too tight can place excessive loads on the countershaft, bearings and suspension movement. A chain that's too loose may slap, derail or damage surrounding components.
The correct slack is motorcycle-specific. Some dirt bikes require substantial movement because chain tension changes as the suspension compresses. Always measure at the location and under the conditions specified in your owner's manual.
Should You Change Sprocket Tooth Counts?
Changing sprocket sizes alters the final-drive gearing:
- Larger rear sprocket or smaller front sprocket: Lower gearing generally improves acceleration and low-speed response, while increasing engine speed at a given road speed.
- Smaller rear sprocket or larger front sprocket: Taller gearing generally reduces engine speed at a given road speed, but may reduce acceleration and low-speed response.
Before changing gearing, check chain length, adjustment range, component clearance and the manufacturer's recommendations. Road bikes may also have speedometer or electronic-system considerations.
Keeping Your New Chain and Sprockets in Good Condition
Regularly clean the drivetrain with products compatible with your chain type and lubricate it as recommended by the chain manufacturer. Pay particular attention after wet, muddy or dusty rides.
Firestorm stocks chain cleaners and lubricants suitable for motorcycle drivetrain maintenance.
8. Find the Right Chain and Sprockets for Your Motorcycle
Before ordering, confirm your motorcycle's make, model and year, along with the correct chain pitch, sprocket fitment and tooth counts. Don't assume that parts from another model year will fit.
You can browse Firestorm's full chain and sprocket range, or use the model-specific parts finder to narrow down compatible options.
For example, view the 2005 Honda CR250R parts finder to see parts listed for that particular motorcycle. For your own bike, select its exact make, model and year.
Whether you need a complete replacement kit or a single component, explore the relevant Firestorm categories below.
Final tip: Don't wait until sprocket teeth are badly hooked or a chain is jumping under load. A quick inspection and regular chain maintenance can save you from a worn-out drivetrain and an avoidable breakdown on your next ride.