(1).jpg)
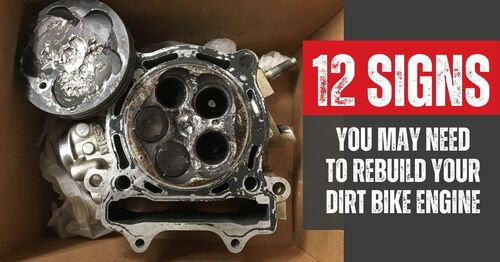
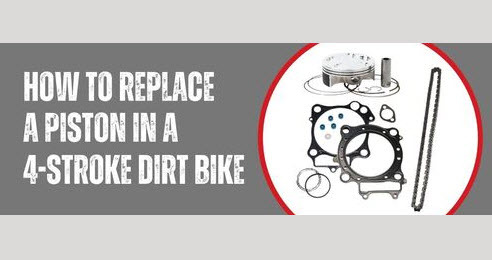
How to Rebuild a 4-Stroke Dirt Bike Head
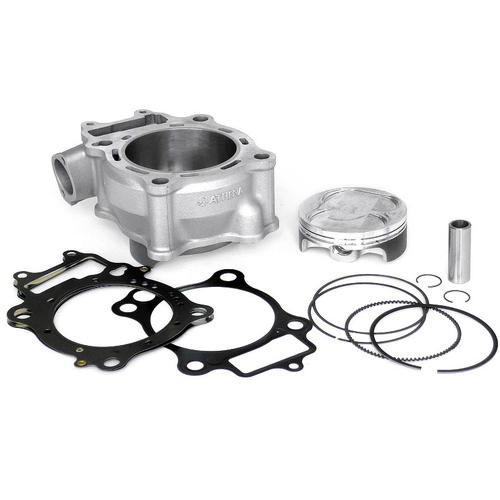
Now that you have installed your new piston kit and torqued down your cylinder, the next big task is the head rebuild. In this article, we'll walk you through the steps carefully to save you from future failure in your next rebuild.
Here are the four important steps for a head rebuild on your four-stroke dirt bike:
- Disassembly, Cleaning, and Inspecting
- Component health checks
- Reassembly
- Valve Clearance
Disassembling, Cleaning, and Inspecting
While disassembling the head it's important to watch out for any signs of excessive wear, malfunctioning components, or carbon build-up. Carbon deposits on the combustion chambers are a normal side effect of running an engine, especially when your bike has plenty of hours on it.
.jpg)
Carbon build-up on a used engine is normal, but should be cleaned up for a rebuild.
After disassembling the head, use a washing solution and a partially abrasive brush/pad to help make sure you properly clean the following:
- Remove the built-up carbon
- Remove the remaining gasket material from the combustion chamber and sealing surfaces
- Clean the valve guides
- Clean the ports
- Clean the remaining parts of the cylinder head
.jpg)
If you use a razor blade to remove gasket material, be careful not score the surface, or yourself.
Component health checks
If you have components that you don’t plan to replace yet, this will be the best time to check on them for potential wear, scoring, or grooves. If your components are showing signs of wear or carbon build-up replacing the keepers, retainers, and valve seals would be a good idea. They are low-cost parts that are better replaced than you taking the risk of them breaking.
Before you proceed with reassembling your new components, you have to ensure that you have inspected your valve guides. You can do this by sliding the new valve into the valve guide and feeling for run out and suction.
Reassembly
Once you've inspected all of your components, and the head has been reassembled with the new components, you can then reinstall the head onto the cylinder.
Note: Ensure that you're reinstalling the camshafts and cam caps in the same way they were removed. Torque all bolts according to the specification in your service manual.
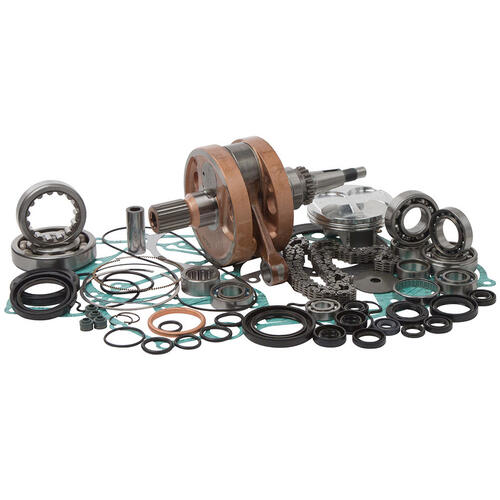
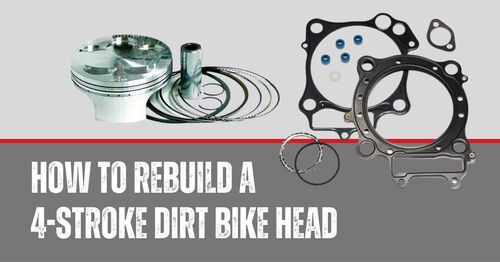
Make sure that your gaskets are new when reassembling. You should use good quality gaskets on a smooth, clean sealing surface to avoid harmful oil or air leaks. Having a complete gasket kit for top and bottom end is a good investment, for convenience and ease.
.jpg)
Complete Gasket Kits are a great way to save money and include everything you need.
Another important step is setting cam timing while you reinstall the timing chain. Setting this up incorrectly can lead to damages to your four-stroke engine. You also have to make sure that your timing marks on your crankshaft and cam gears are properly aligned. Double check everything once you’ve finished installing the timing chain. If you're unsure of the correct timing setting procedure, it should be on your service manual too.
.jpg)
Always make sure that your timing marks on your crankshaft and cam gears are properly aligned.
Valve Clearance
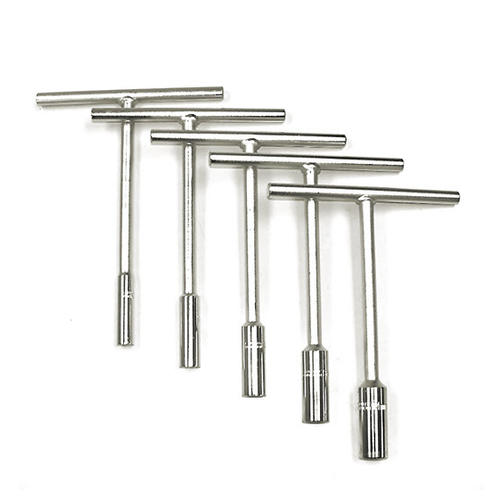
Before you completely cover up the engine, make sure you've done this final step: checking your valve clearance. With the help of your service manual and a set of feeler gauges, check that all valves are within the clearance specifications, as detailed in your manual. If a valve is out of spec, use shims to adjust until the required specs are achieved. For a bike owner, having a complete shim kit in your garage or toolbox won't hurt and ensures you have the correct shim sizes handy.
.jpg)
With your timing set and everything torqued down, check your valve clearance against the recommended specs in your owner's manual. If you need to make some adjustments, ProX shim kits offer sizes for all popular models in 0.25mm increments.
This is not an all-inclusive guide to a head rebuild process. We’ve only provided the important steps and checks that you need to do throughout the rebuild.
For more how-to guides, check out our articles about rebuilding top-end engines:
** Source:
“YZ450F Top End Part 2: Rebuilding a Four-Stroke Head”, Pro-X Blog